Improving Your Posture From Home
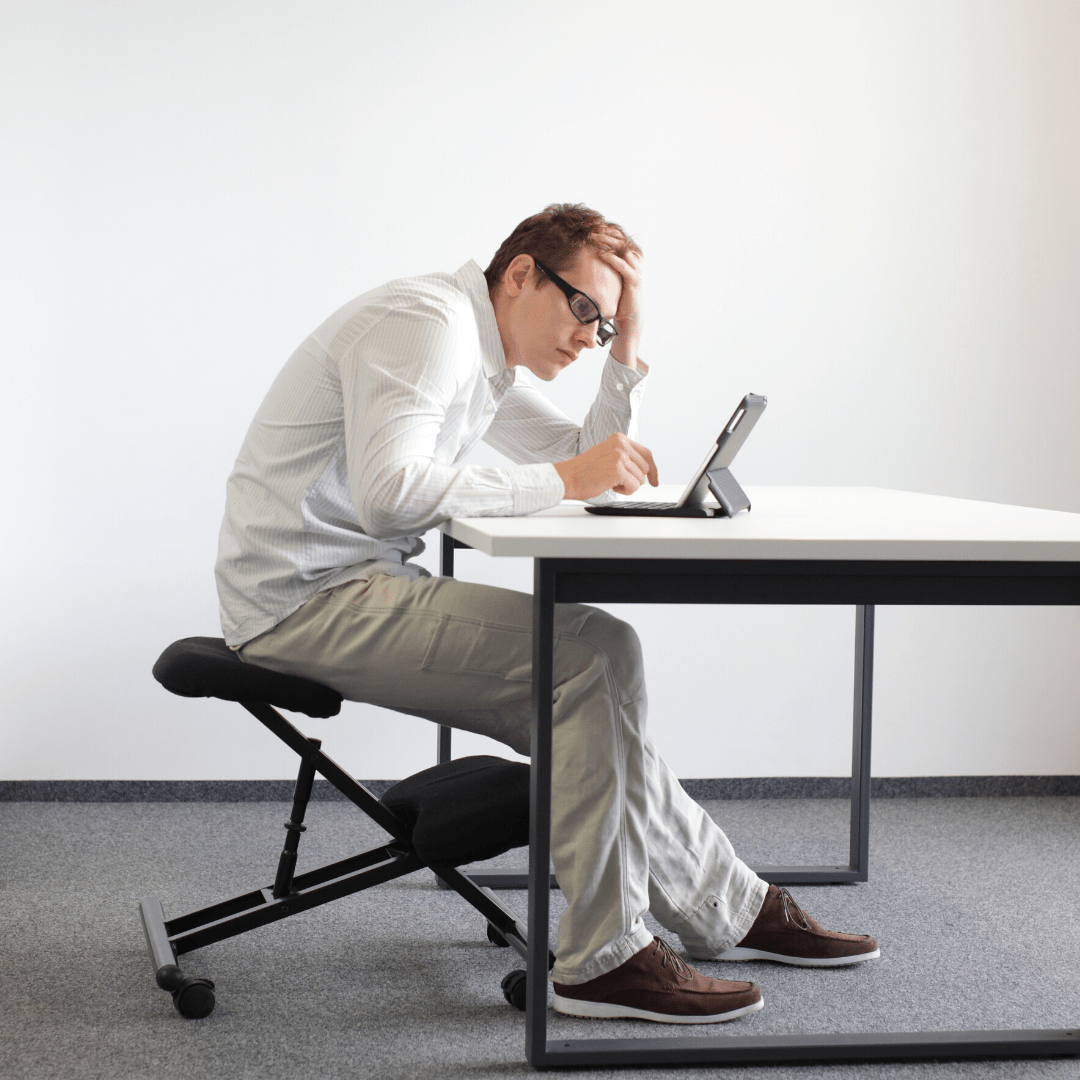
We’re all spending a lot of time more sedentary nowadays and taking care of your posture might not feel top of your agenda. Even though you may feel comfortable sitting with poor posture on a regular basis, this can contribute towards stiffness, upper back or lower back pain, headaches and muscle spasms, so if you are suffering a little bit with your back right now, we’re going to talk through today some alterations you can make at home to keep your spine in a better position, as well as simple mistakes to avoid!
How Does Posture Impact Your Spine?
If you’re new to our articles, we talk regularly about the impact that your posture has on your spine over time. There is an ideal alignment that your spine should be kept in on a daily basis, in order to avoid problems in the long term. We have natural curves throughout the spine that help us to shock absorb when moving around, as well as to help effectively distribute the weight of your body from gravity pulling it downwards. When you adopt poor posture, the ligaments in your spine can loosen and your spine can essentially remodel itself into the position you’re frequently adopting. This change in position makes it more difficult for your body to distribute the weight of your body, hence early degenerative changes take place and if a great deal of weight has been squashing down on the discs, this is when disc slips, bulges and herniations can take place.
Are Posture Supports Beneficial?
A very common mistake that people make when they have an awareness that their posture is not quite correct, is to invest in a posture support. There are very, very few cases that this might be necessary but generally we do not recommend them at all to anyone because they effectively do the job your muscles should be doing. By wearing a posture support, it’s likely to feel good as it holds you quite taut around the midsection, but this is exactly what your core muscles should be doing and can do if you train them correctly with the right exercises. Your own muscles don’t contribute at all when you wear a posture support, and so they will deteriorate beyond their existing weakness and make it very difficult for you to be able to function day-to-day without the support. These are the types of posture supports that sit across the middle, although you can get ones that pull the shoulders back. Again, these ones are also not recommended as you can use postural exercises to help you naturally be able to hold the shoulders back, a support is just going to deteriorate your muscles. Instead, set regular intervals throughout the day to check in with your posture and correct it whenever you notice that it’s slipped. It can be uncomfortable at first to correct, but do stick with it and it will become much easier as you get stronger.
Join The Back In Shape Program
A full protocol to support you get out of back pain in the short term and then rehab safely and effectively to deal with the issue for the long term.
Three Exercises To Better Posture
We’ll talk you through three exercises you can do at home that will help to engage and strengthen your postural muscles. These will help you to better hold good posture, and encourage your posture back into that normal, healthy position. The first of these is called a mid-back activation, which you’ll be able to perform with a lighter weight exercise band and matching door anchor. If you’re not sure what type of band you need, these can be found on our website shop here. Pop the anchor into the door and hold both ends of the exercise band in each hand. Facing the door, hold the bands out to each side of the body with your elbows angled downwards. You’ll then pull the band to your side, keeping the elbows down and squeezing the shoulder blades together at the end of the motion. For a video demonstration and walkthrough, do visit the video here.
Next up is the reverse fly, this is a very similar exercise to the mid-back activation with you’ll have the arms slightly higher and palms facing upwards. Again, at the end of the motion you’ll want to squeeze the shoulder blades, making sure to keep the shoulders don’t and not hunch them. You’ll likely have the same strength band as the mid-activation exercise as well. Again, if you’d like to see a video demonstration and walkthrough, please do visit the video here.
The third and final exercise is rows. You’ll want a slightly stronger band for this one and you’ll want to start facing the door as with the other exercises. The aim is to pull the weight from being outstretched in front of you, to by your side with the elbows bent. We have a full demonstration video and walkthrough in this video here. It’s quite common with these exercises to want to push the neck forwards to support the motion. For that reason, do be aware of your neck posture and make sure that your head stays above the shoulders. Cycle through each exercise for 15 repetitions and then start over for a total of 3 rounds.
We do hope these exercises will be helpful for you! If you do have back pain and you’re not sure what types of stretches to start with, do sign up to our membership area at www.backinshapeapp.com, the first section is completely free with lots of helpful information on reducing inflammation, possible mistakes you don’t realise might be making your back pain worse, as well as the best stretches to do in the first instance when starting back pain rehabilitation. We also host live videos every weekday at 1:00pm, so do tune in if you would like to ask our lead practitioner Michael Fatica any questions!
Contact Us.
Email Us
info@themayfairclinic.com
Call Us
0203 947 32 22
Clinic Address
4 Cavendish Square, London, W1g 0PG.